How to Start Selling
There are five basic steps before you can start selling your website.
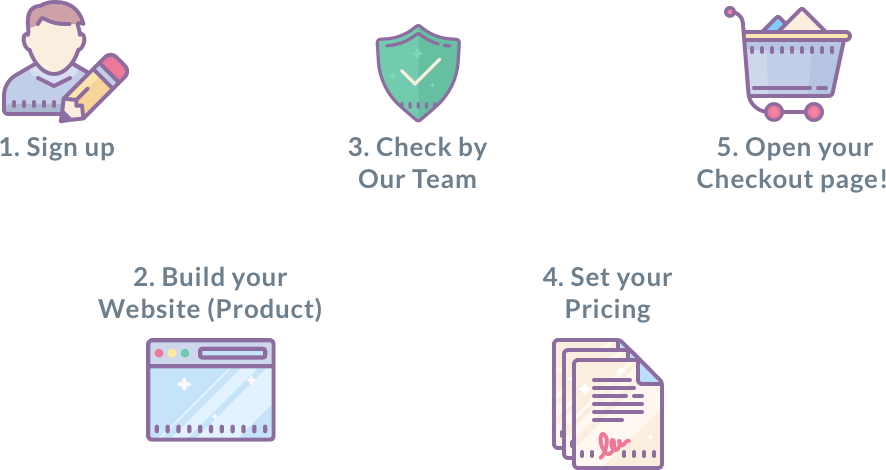
1. Sign-up and create a new Product (empty WordPress site)
First, access the Creator Sign-up page and create an account. All you need is an email address. After you confirm your email address from the link we will send you via email, you can start using your account.
After that you can login into your account and from your dashboard navigate to Products and click Add New Product. In this page you can set your product title and WordPress password, and all you need to do is just click Create New Product. This step will create a new empty WordPress site and it will take about 2-3 mins. You will receive an email when your product is created. The email will contain auto generated development URL for your product which cannot be changed.
2. Log into your WordPress and start creating your website
Now you can login to your WordPress site from the link we have sent you in the email using the password you have set during the product building process and start creating your beautiful WordPress site.
Set the persona, target occupation, business category, and objectives for the website. The potential customer will then be able to imagine things better.
Besides the design, you should also work on:
- The page configuration and the site map
- Linking to social media accounts
- Marketing functions
- E-commerce function
If you can imagine how you can make customers happy, you will surely be able to create a wonderful site!
3. Create Plans and Pricing
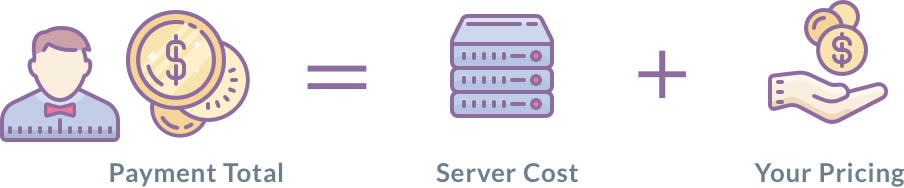
With ReadyShip, you can freely create your own plans based on the basic fees of our server costs plans plus your own pricing. Navigate to Pricing & Plans from your dashboard and create your plans.
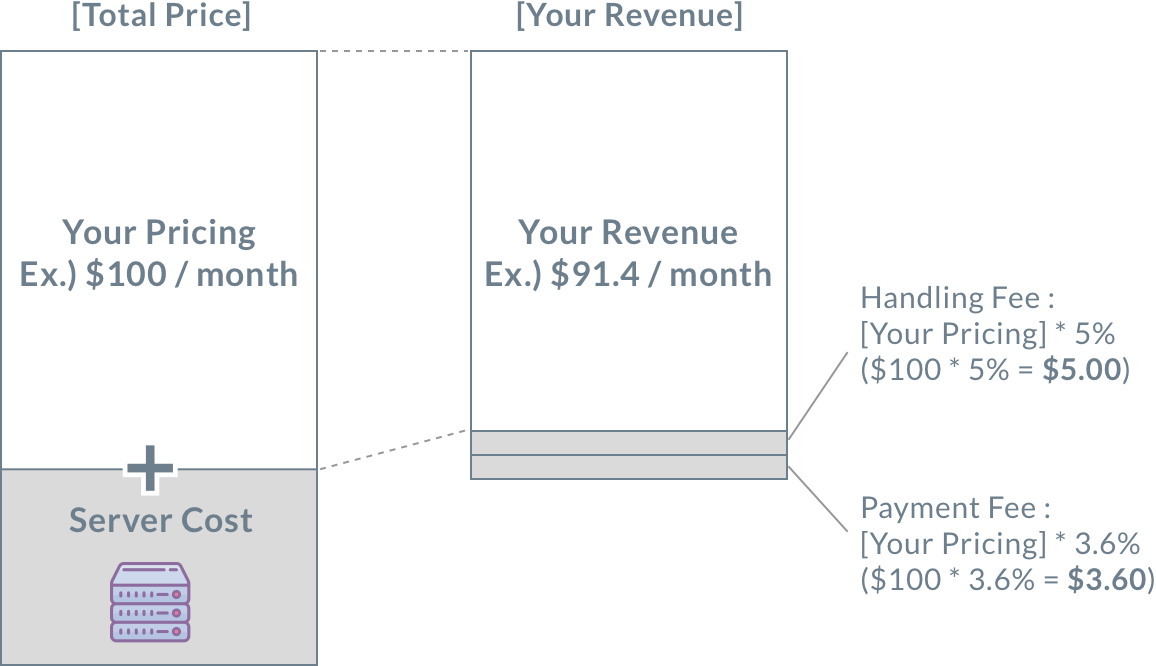
Up to 3 plans can be grouped into a “Plan Group”. For more details, please check Plans and Pricing
4. Publish Your Site and Start Selling
Now that all preparational steps have been completed, there are a few things left to do before publishing your product for sale on the marketplace. To publish a product, you need to put the following information on your product’s settings page:
- Select Plan (Required)
- Short Product Description (Required)
- Product Details Description (Required)
- Support email (Required): Please provide an email address for customer inquiries for support. Note: The email is only visible to existing customers
- Support Page URL (Required)
- Thumbnail Image (Required): Usually, a screenshot would be suficient
- Preview Images (Required)
- Set Status as Active (Required)
- Set Visibility On Marketplace as Show (Required)
Please also put theme and plugins that you used and tags. These fields are not required but they are pretty helpful for product description and they can be used as filters in our search engine for searching products by customers.
After putting the required data you can click Submit Changes so you can publish your product on the marketplace for sale. This step will put your product Under Review which is the last step before making your product public.
After you submit your product for publishing on the marketplace, it will undergo a thorough review procedure by our team. We will check if there are any licenses or copyrights problems with your theme, plugins and content. If there aren’t any problems, your product will be successfully published on the marketplace.
If we find some problems, your product will be temporarily rejected and we will send you an email with details about the rejection reason and further instructions.
Here are some examples of possible reasons for rejecting a product:
- The items’ (theme, plugins, content) licenses are not 100% GPL. (If we release your product on ReadyShip there is a possibility that the Original production company might sue you for copyrights violation)
- Thumbnails or product images are not connected with the product content.
- The content and the quality of products don’t meet the criteria.
- You need to add some more information
We will also perform a test so we can make sure that your product can be cloned successfully.
Once a product is published, the purchase page will also be publicly accessible so that customers can purchase the website. Please note that the purchase page URL cannot be changed. The URL will look something like this: https://dock.readyship.co/website/create/{Your-Product-ID}
Feel free to share the URL on your own website so you can redirect your customers to your product’s checkout page.
5. Making Your Profile Public
You can sell your products even without making your profile public.
If you want to make your profile public, go to your Account Settings and make the following changes:
- Set Profile On Marketplace to Show
- Put Username
- Set a Thumbnail Image (Profile Picture)
- Save the changes
Note: If you don’t have any active products, your profile cannot be displayed on the Marketplace